Showing posts with label gift ideas. Show all posts

Tuesday, September 24, 2019

grocery bag tutorial

Ten years ago (TEN YEARS! WOW!) I published a pattern for a grocery bag I had designed called the Nantucket bag. Since then I have modified and simplified it many times. I always get compliments from the ladies at the grocery store about my bags.... and they are so simple to make! Here's a basic, easy tutorial so you can make some of your own.
 2 bags I made from fabric I brought home from Africa

Materials needed:
fabric 20"x36" for outside of bag (depending on the weight of your fabric, you might want to interface this piece)
fabric 20"x36" for lining of bag
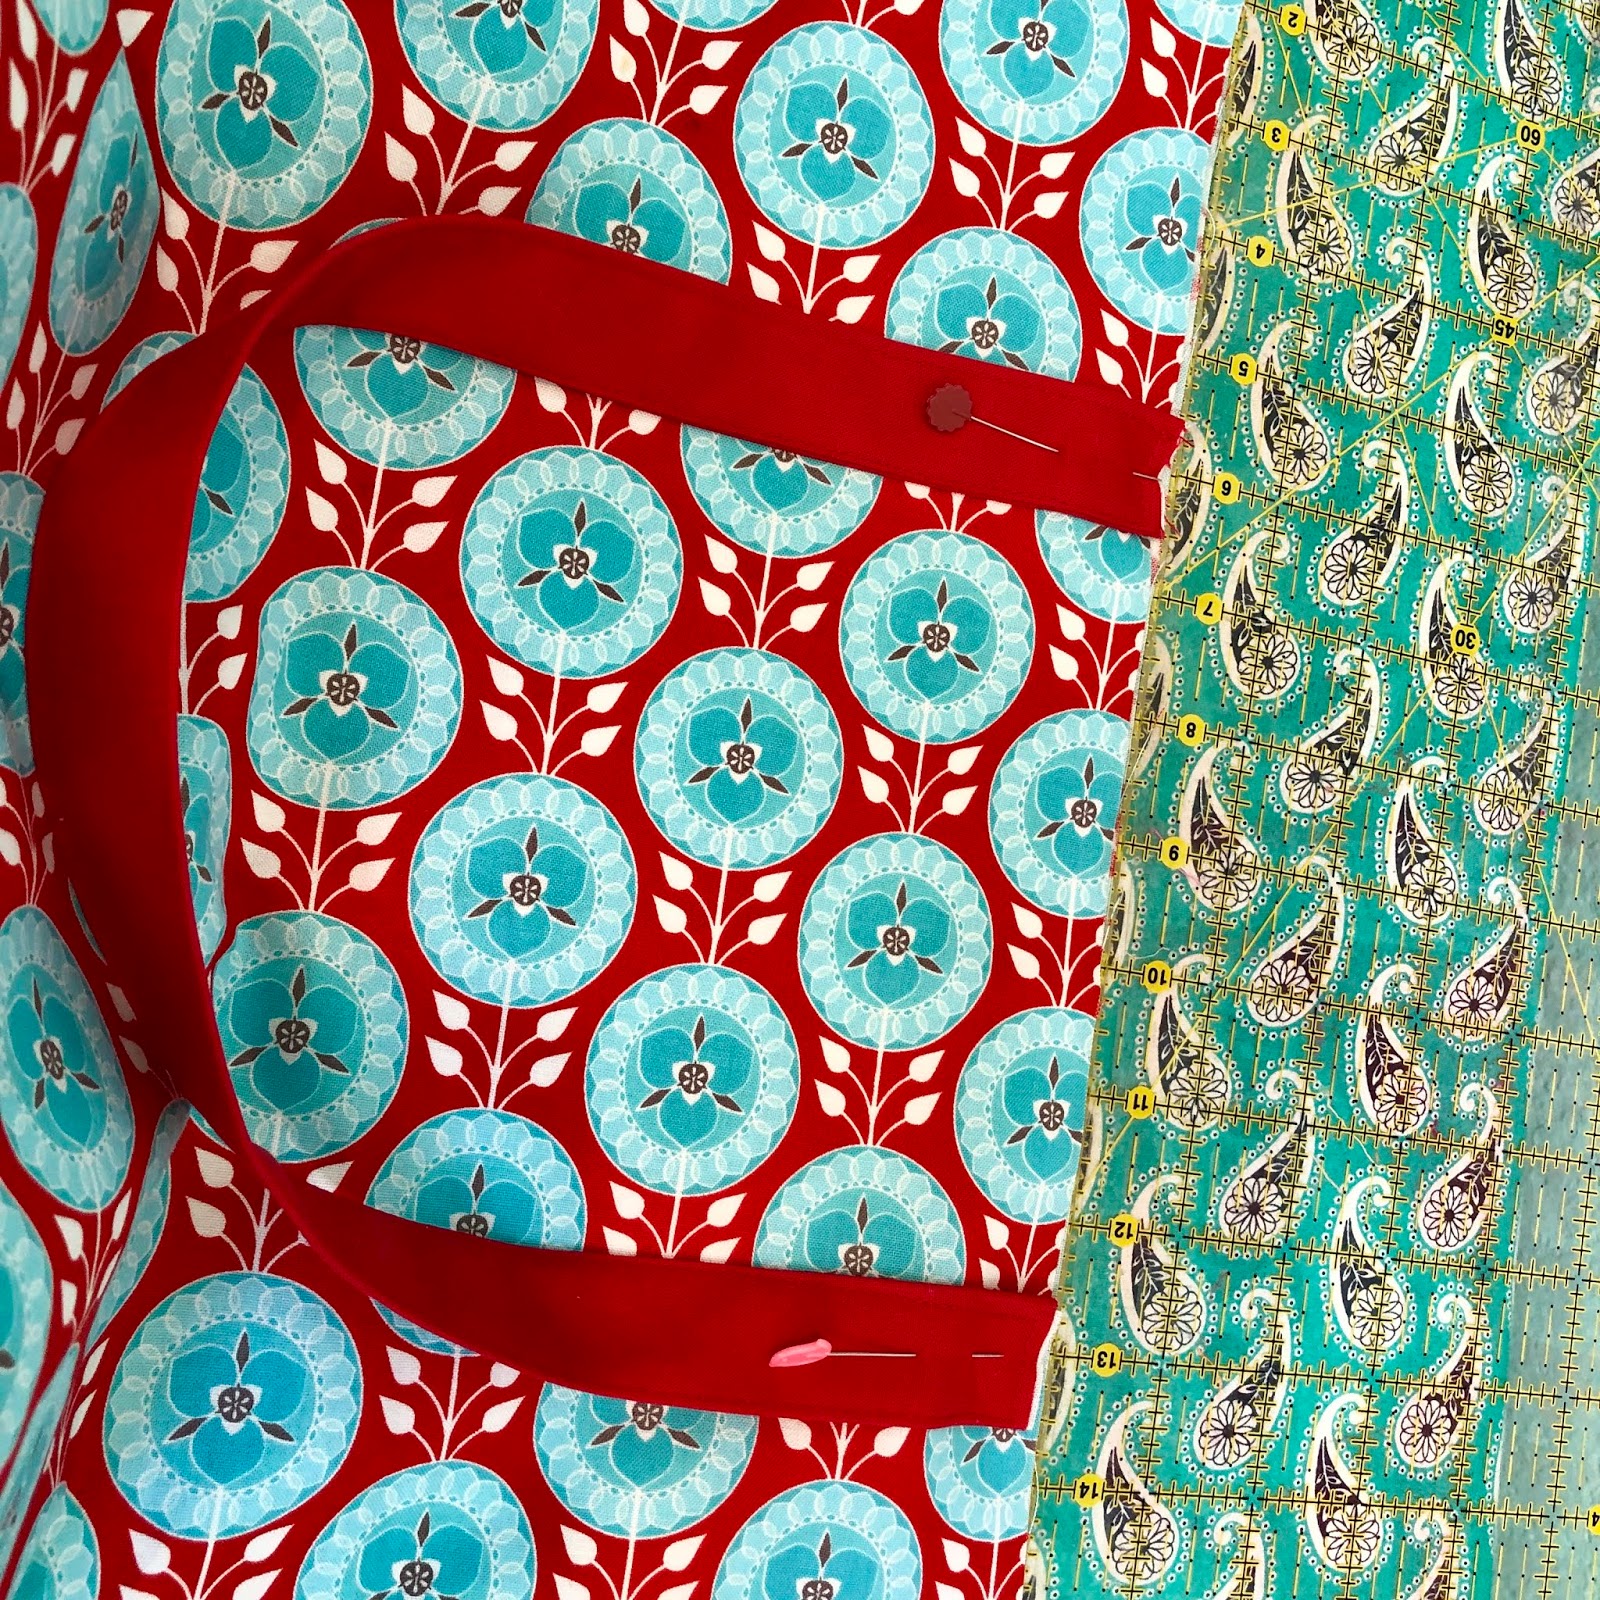
2 straps 20" long each (purchased webbing works great, or 2 pieces of fabric 4"x20" to make your own)

If you are making straps.....
Fuse a piece of interfacing (2"x20") in the center of each strap
Fold each edge to the center, then fold the straps in half....
edge stitch both long edges of each strap, then set the straps aside
Take your outside fabric. Fold it in half so that the folded edge is at the bottom. Then cut a 4" square out of each bottom folded corner
Refold your bag right sides together and stitch the side seams

Now box the corners by stretching out the cutout squares and sewing straight across. 

Now follow those same steps with your lining fabric. The only thing you need to do different is to leave a 3" section of one side seam unstitched so you can flip your bag right side out later on.

Add your handles to both sides of your finished outside bag piece. I found the center of each side and measured out 3" in each direction, leaving a 6" gap between each end of the handle. Baste both handles in place.
Now take your outside bag (right side out) and place it inside your lining bag (inside out). Tuck the handles inside and clip or pin around the top of your bag. Stitch around the top of the bag, making sure you catch the ends of your handles in the seam.

Turn your bag right side out through your side seam hole and stitch the hole closed. Press the top of the bag and stitch around the top of the bag to secure your lining.....
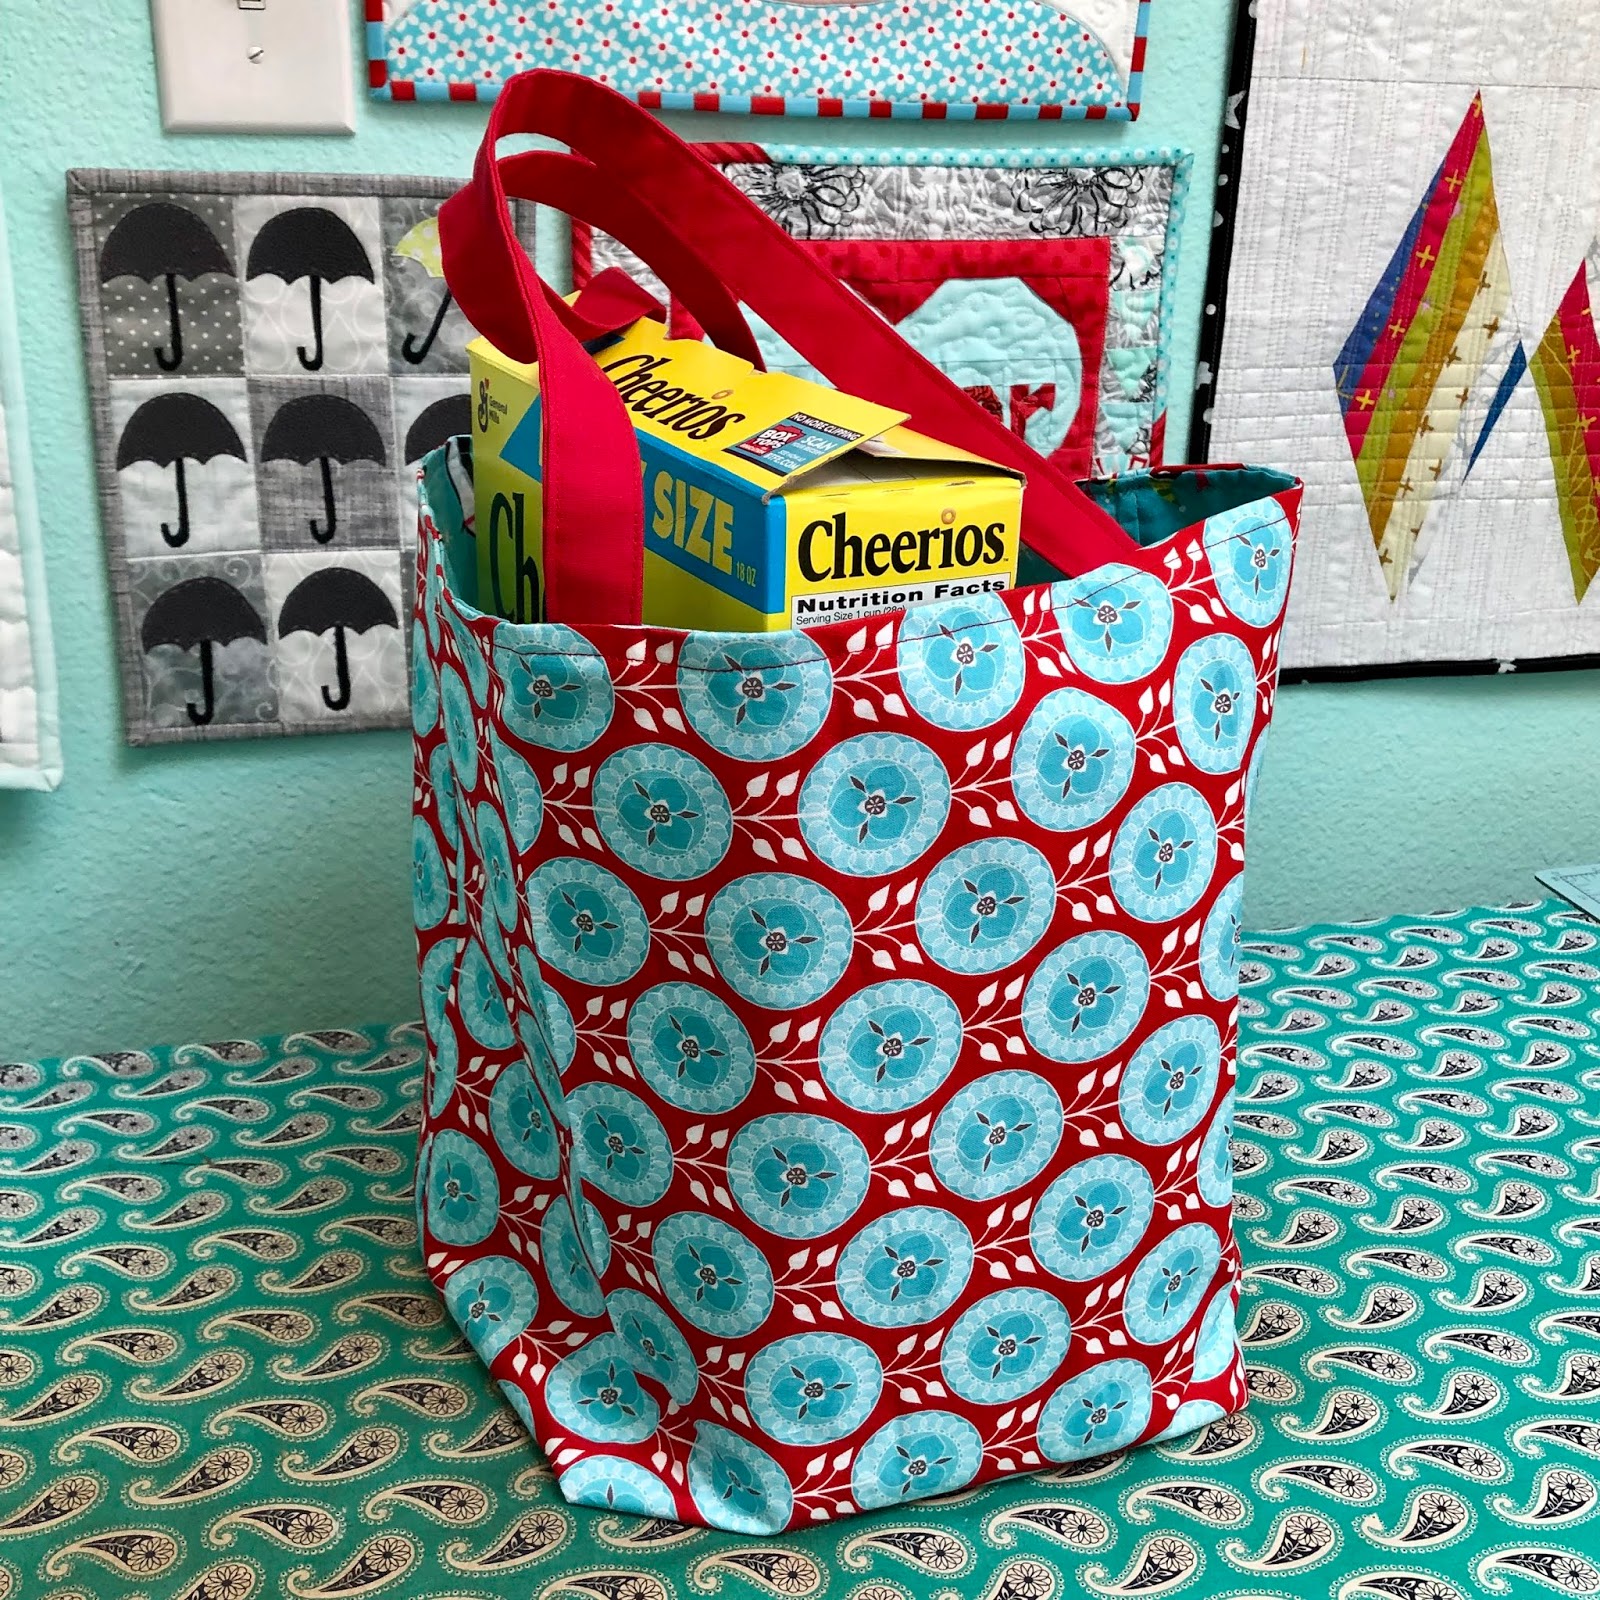
yes, I realize my fabric is sideways. oh well. it's a grocery bag!

And there you have it! I like to have a solid bottom in my bags. To do this, I cut a piece of plywood (8"x11") and then make a little "pillowcase" to slide it into, and place it in the bottom of the bag. The pillowcase is removable if it needs washing and the plywood is lightweight but never bends or breaks. 

I'm thinking grocery bags will be my go to Christmas gift this year!

Saturday, July 21, 2018

shower gift

What fun I'm having celebrating my best pal's daughter Megan this weekend, just weeks before her big wedding day! Today I was happy to finally give her the shower gift I made for her earlier this summer.
Four quilted placemats to match her aqua dishes and with a lesson learned from my friend Trae, I backed them all in Christmas fabric...
In fact Trae gave me that cute fabric! and I still have plenty left over for me.

Of course I wove Megan some pretty dish towels to match....
Waffle weave, 100% cotton yarn doubled in a 10 dent heddle.

I hope she enjoys them all for a long time!  What's your go to shower gift?

Monday, December 18, 2017

handwoven trees tutorial

Hello Friends! Sorry I disappeared for a bit. There are lots of factors.... secret sewing that I can't share just yet, general holiday business and ongoing health issues that I hope to resolve very soon. That said, I'm back! I wanted to share some fun ornaments I made to share with my friends this year.

They were fun and quick to make. I thought I'd share a little how to here.... I started out with scraps of my handwoven fabric that I had been saving for an "unknown project", a bit of interfacing,  some wool felt, a bit of batting and ribbon.
I backed the woven fabric scraps with bits of interfacing (I like SF 101) and cut tree shapes with my rotary cutter. At this point, the edges of the weaving are not stitched, so raveling is a risk! Treat the little trees gingerly until you have them stitched down.

Layer a scrap of felt, a small triangle of batting (you can't see it here) and a tree and pin it down.
Take it to the machine & zigzag around the edges of the tree, tucking a loop of ribbon between the layers when you reach the peak. I tied a knot in the ribbon to secure it inside my ornament.

After you've stitched the trees down, carefully cut away the felt around the edges (Don't cut your stitching! But if you do, take it right back to the machine and restitch. It'll be fine. Don't ask me how I know this!)
Aren't they fun! And so quick to make I couldn't seem to stop...

Have you been making Christmas decorations this year?

Sunday, November 19, 2017

revisiting the dainty tote

Some patterns are just so outstanding that I revisit them again and again. The Dainty Tote, a free tutorial by my friend Three Owls Handmade is one of those patterns. I've made at least a half dozen of these, for project bags for friends, tote swaps and now as a dolly diaper bag for the little girl I chose on our church's angel tree....
I used a mishmash of fabrics I had on hand, and I think this will be just perfect for her to carry dolly's goodies in.
One of my favorite features of this tote is the recessed zipper panel, which goes in easily for all of you zipper-phobes! I always add a little zipper charm from Bodobo Bags, my friend Natalie's shop. She has a great selection & they are the perfect finishing touch on all of my bags.

I whipped this little bag up in a day (no easy feat when I am still sewing with my left foot & hobbling about the house with a walker! Ha!). Do you have a young friend who needs a dolly diaper bag this Christmas?

Tuesday, August 29, 2017

Giraffes!

When your adult son's childhood best friend contacts you and says "can I commission you to make something for my mom's birthday?" you jump right on it! Seriously, I was so thrilled to hear from him and to make something for the precious lady who was my son's second mom growing up. An honor! He said mom loves giraffes & gave me colors to work with and I was off and running.

Two 20" quilted pillows were the end result. I used assorted grays for the backgrounds & burgundy and gold prints for the giraffes, which I drew up from random clip art, fused and machine stitched on.


I even put a giraffe on the back of one pillow...
She told me today that that one always makes her smile. 

I did exposed metal zipper openings on the back, so the covers can be removed and washed if needed...

I was really pleased with the end result and she loved them! what a fun project for me!


Sunday, June 25, 2017

Second Quarter Finish-along finishes

I did it! I finished all of my second quarter finishes for the finish-along! Just to review....
Placemats have been finished and gifted.
Liberty baby quilt is all done.

as is my Liberty dainty tote.

and finally, my hand dyed hashtag quilt. whew!
I'm linking up here!

Saturday, April 8, 2017

placemats and towels

I had a fun bridal shower to attend today for the daughter of a good friend. She had tried to make off with Mom's hand woven dish towels last time she was home, so I knew I needed to start off her gift by weaving her a set of towels of her own. Then I decided to make her a set of placemats to go with them.
My local quilt shop was selling some of the cap sets (these are the samples the sales reps bring when they are selling new fabrics) of Sweetwater's Sunday Supper line and I just loved it! I bought most of what they had, went home & started cutting 3 1/2" squares. It's really the perfect line for placemats!

I quilted a crosshatch in two colors on my Janome and I love the way they turned out
She was very happy with her gift!
And guess what? I had enough fabric for four more placemats!
And I still have some more fabric left over for another day!
This is my first finish for the second quarter of the 2017 finish-along.


Thursday, May 12, 2016

Sit and Stitch Pincushion

Happy Birthday to my friend Annie! She was my very first sewing buddy, back when we were new moms stitching baby clothes for our firstborns. I always look for something new and fun to make for Annie on her birthday.

I found the pattern for Tailor Made Designs Sit and Stitch pincushion and decided it was just what I was looking for!
in fact it looked really cute on my living room chair. But I boxed it up and off it went! Might have to make myself one.

This is a great pattern, a fun make. A great gift for all your stitching buddies.

Happy Birthday Annie!

Monday, May 9, 2016

waffle weave towels

It's kind of funny (to me anyways) but the main thing I wanted to weave when I got my rigid heddle loom is dish towels. After experimenting with thinner 8/2 cotton yarn I decided to try a thicker 3/2 Valley yarn. I also wanted to try doing a waffle weave.  Several tutorials and you tube videos later (and another WEBS order for yarn and a pick up stick) I started weaving and loved the results!
After I took it off the loom and washed & dried it I was even happier. The waffle weave makes for nice, thick, useful dishtowels!
After I got these done, I still had enough warp to make 2 more towels but no more green for the weft. I decided to do the other two with inexpensive cotton yarn from Walmart that I had on hand. I also chose to finish the ends of these with bias binding instead of just hemming them on my sewing machine.
Although they are not as soft as the better quality yarn, they are still great towels! And I love the way the colors blended.
These have all been gifted (green ones for Mom's green kitchen for Mother's day, the others birthday gifts for friends)
And I've ordered more yarn from WEBS so there will be more towels to come!

Friday, March 4, 2016

modern coasters

Tuesday night at our meeting of the McKinney Modern Quilt Guild, we had a modern coaster swap. The challenge was to make four 4 inch coasters and bring them to swap. We got to share with the group what our thought process was making them and what makes them modern. Inspired by these, I made mine while I was at the retreat a couple or weeks ago....
Mine are constructed totally differently from hers. It was fun to make some tiny quarter square triangles for the center (finished at 1 inch) from some of my solid scraps, then add grunge borders. The modern elements in my coasters are use of solids, minimalism, use of negative space and straight line quilting.
I had so much fun making them! I even made a second set to use as a hostess gift last weekend. I can see myself making lots more coaster sets for gifts in the future.

So, the swap..... everyone put their name in the bucket 4 times. When it was your turn, you shared your coasters and your story, then drew out four names and distributed your coasters to those members. Each of us ended up with a mixed set of coasters. Here are the lovelies I came home with...
The top left one was made bye Rebecca (in my colors! I love it so much!) but the pink flying geese was done by Sarah (Sarah is the queen of tiny patchwork and LOVES pink), the Kaffe friendship star was made by Elizabeth and the text print pinwheel was made by Martha. I think they are all wonderful! What a great swap. Have you swapped anything fun lately?

Friday, December 25, 2015

last minute Christmas make

When I saw the mug rug Debbie was making (here on her blog) I knew I had to make one for Ally for Christmas!
the red cup pattern is free on Craftsy and it's a great one! Ally is a big Starbucks fan (who am I kidding, so is her mom) and she loved this as much as I thought she would. This would make a terrific gift for a girlfriend with a Starbucks gift card or a new mug, don't you think?

Hope you had a Merry Christmas!