Showing posts with label tutorial. Show all posts

Monday, December 9, 2024

Gift bag tutorial

 I had the honor of creating a tutorial to post on my friend, Marie Bostwick's blog. Do you know Marie? In addition to being a great friend and kind human being she is a wonderful author. I found her years ago when she was writing her Cobbled Court Quilt series, all about, you guessed it, quilters! Since then she has written many wonderful books. I love that they focus on women and friendships.

Anyways, Marie asked if I would write a holiday tutorial for her blog. I created a pattern for these fun giftbags....

You can find the tutorial here.... and while you are there check out some of Marie's other blog posts. She often includes fabulous recipes!


Let me know if you make any gift bags for the holidays. I'd love to see them!

Thursday, September 26, 2019

Quilt Ladder Tutorial

I have a special guest blogger for you today! Recently my awesome hubby, Rick, build me some quilt racks for our home. They are simple to make and so sturdy. He has created this tutorial and given me permission to share it with you. Enjoy!


Material List
1) 3 - 2"x4"x8'      Select best looking, straightest pieces with the fewest knots and least warp
2) 12 - #2 Phillips 10 x 2 1/2" Wood Screws
3) 1 Quart paint color of choice or stain of choice
4) 1 Bristle brush or 1 pack of 1 1/2" sponge brushes
5) Adhesive Chair Leg Pads (Cut to size or use push pin types)

Tools
1) Saw (Power Miter Saw or Circular Saw preferred)
2) Power Drill (Use 1/8" bit for pilot holes and use Phillip head bit for wood screws)
3) Sand Paper to prepare surfaces for finish
          Sand by hand or with Power Sander (Palm Sander)
          Grit Numbers from 100 - 180 perform well with both hand sanding and power sanding
4) Small Level
5) T-Square for drawing straight, level lines

Prepare the Pieces
Cut 1' off each of the 3 - 2"x4"x8' pieces using the saw
      This is a total of 3 cuts, 1 for each board
      Remove / cut off the least attractive ends that have the most flaws
Select the best looking (with the least flaws) 2 - 7' long pieces to be used as the sides, considering which should be top end, front facing and side facing
      These will now be known as the "side rails"
      Use a pencil to note Top, Front
At the bottom of each side rail (2), make an angled cut so when the finished rack leans against a wall, the bottom of the side rails will be flat against the floor
      Lean each side rail against a wall at the desired "lean" angle
      Set the level flat on the floor against the rail
      Using a pencil make a line on the side of the rails using the top of the level as a guide
          This will give you the necessary angle to cut
Using the saw, cut along the "angled" mark at the bottom of the 2 side rails
Set aside the side rails

Cut the 1 remaining 7' long piece in to equal lengths of 14"
      Resulting 6 pieces will be the "cross bars"
      Measure 14" from one end and mark a line using the T-Square
          Continue measuring every 14"
          Should have a total of 5 lines
          Make 5 cuts, one cut on each of the 5 lines drawn

Sand all pieces (side rails and cross bars) as smooth as desired

When satisfied with sanding, paint or stain all pieces
      Apply as many coats as desired


Assemble
Take one side rail...
Starting at the top of the selected side rail, on the wider (2 1/2") side that will be on the inside of the finished rack, measure down from the top of the side rail 6" and mark a line across using the T-Square
Then measure down 1 1/2" from the first line and mark a line across
      A cross bar will fit between the two lines just marked
Then measure 12" down from the second line and mark a line across
Then measure 1 1/2" down and mark a line across
Repeat marking the side rail for a total of 6 cross bars
Repeat all steps on the second side rail

Take one side rail...
On the outside of the selected side rail, drill pilot holes through the side raid in the middle of the lines denoting where the cross bars go
      You will have to approximate (eye-ball) where to drill
      One hole for each cross bar
Repeat on second side rail

Final Assembly
Attach cross bars to the side rails using the pre-drawn lines as guides (cross bars should be set inside each set of drawn lines
      Screw (using the drill) in to place using the pre-drilled pilot holes and wood screws
      Fasten (screw) cross bards to one side rail at a time
If desired, attach Chair Leg pads to the bottom of each side rail (on angled cut) to prevent scratching of the floor and sliding


Tuesday, September 24, 2019

grocery bag tutorial

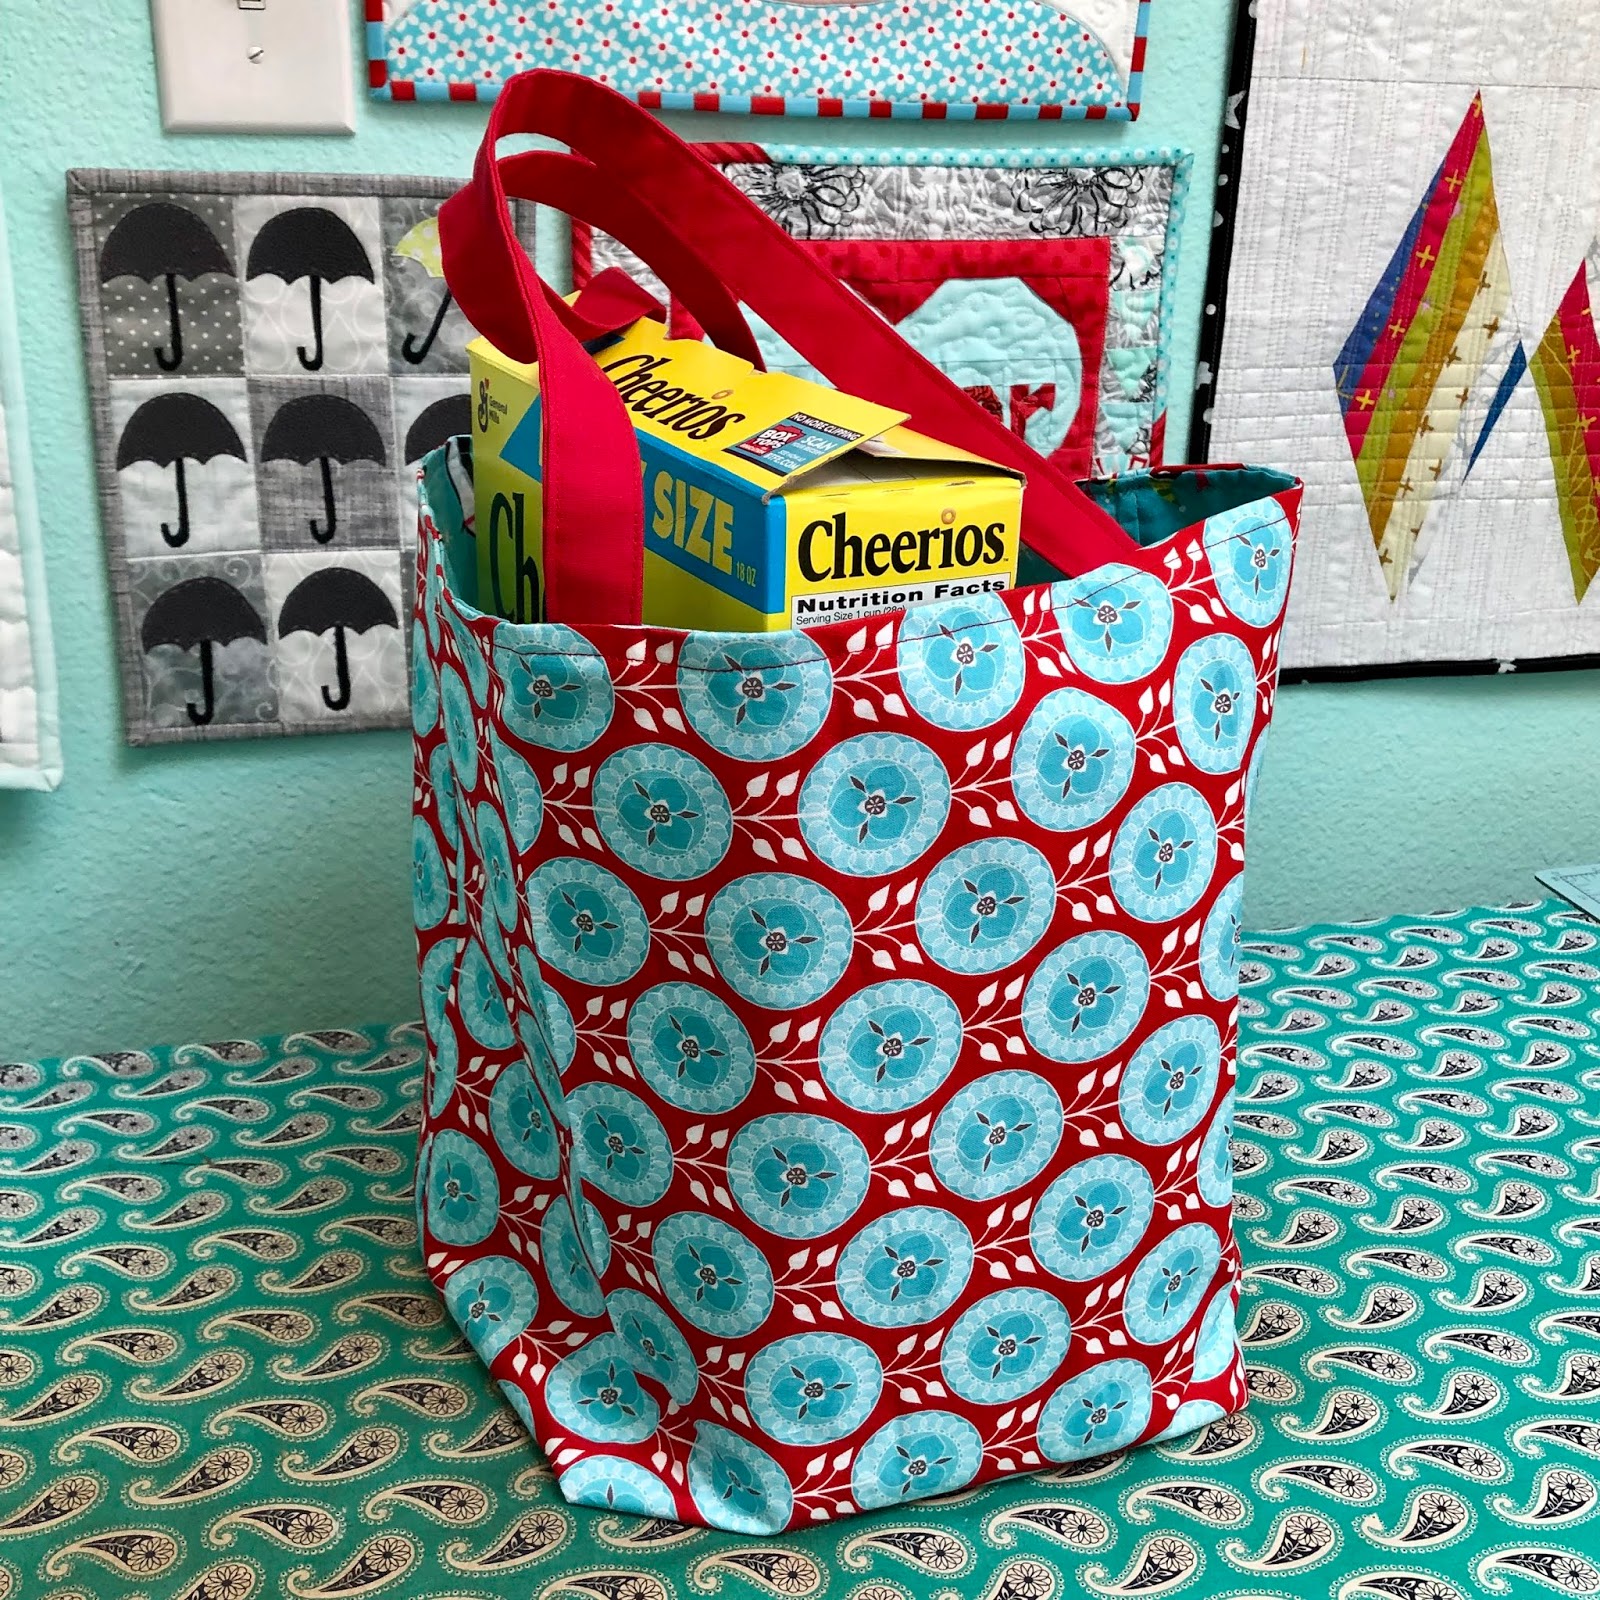
Ten years ago (TEN YEARS! WOW!) I published a pattern for a grocery bag I had designed called the Nantucket bag. Since then I have modified and simplified it many times. I always get compliments from the ladies at the grocery store about my bags.... and they are so simple to make! Here's a basic, easy tutorial so you can make some of your own.
 2 bags I made from fabric I brought home from Africa

Materials needed:
fabric 20"x36" for outside of bag (depending on the weight of your fabric, you might want to interface this piece)
fabric 20"x36" for lining of bag
2 straps 20" long each (purchased webbing works great, or 2 pieces of fabric 4"x20" to make your own)

If you are making straps.....
Fuse a piece of interfacing (2"x20") in the center of each strap
Fold each edge to the center, then fold the straps in half....
edge stitch both long edges of each strap, then set the straps aside
Take your outside fabric. Fold it in half so that the folded edge is at the bottom. Then cut a 4" square out of each bottom folded corner
Refold your bag right sides together and stitch the side seams

Now box the corners by stretching out the cutout squares and sewing straight across. 

Now follow those same steps with your lining fabric. The only thing you need to do different is to leave a 3" section of one side seam unstitched so you can flip your bag right side out later on.

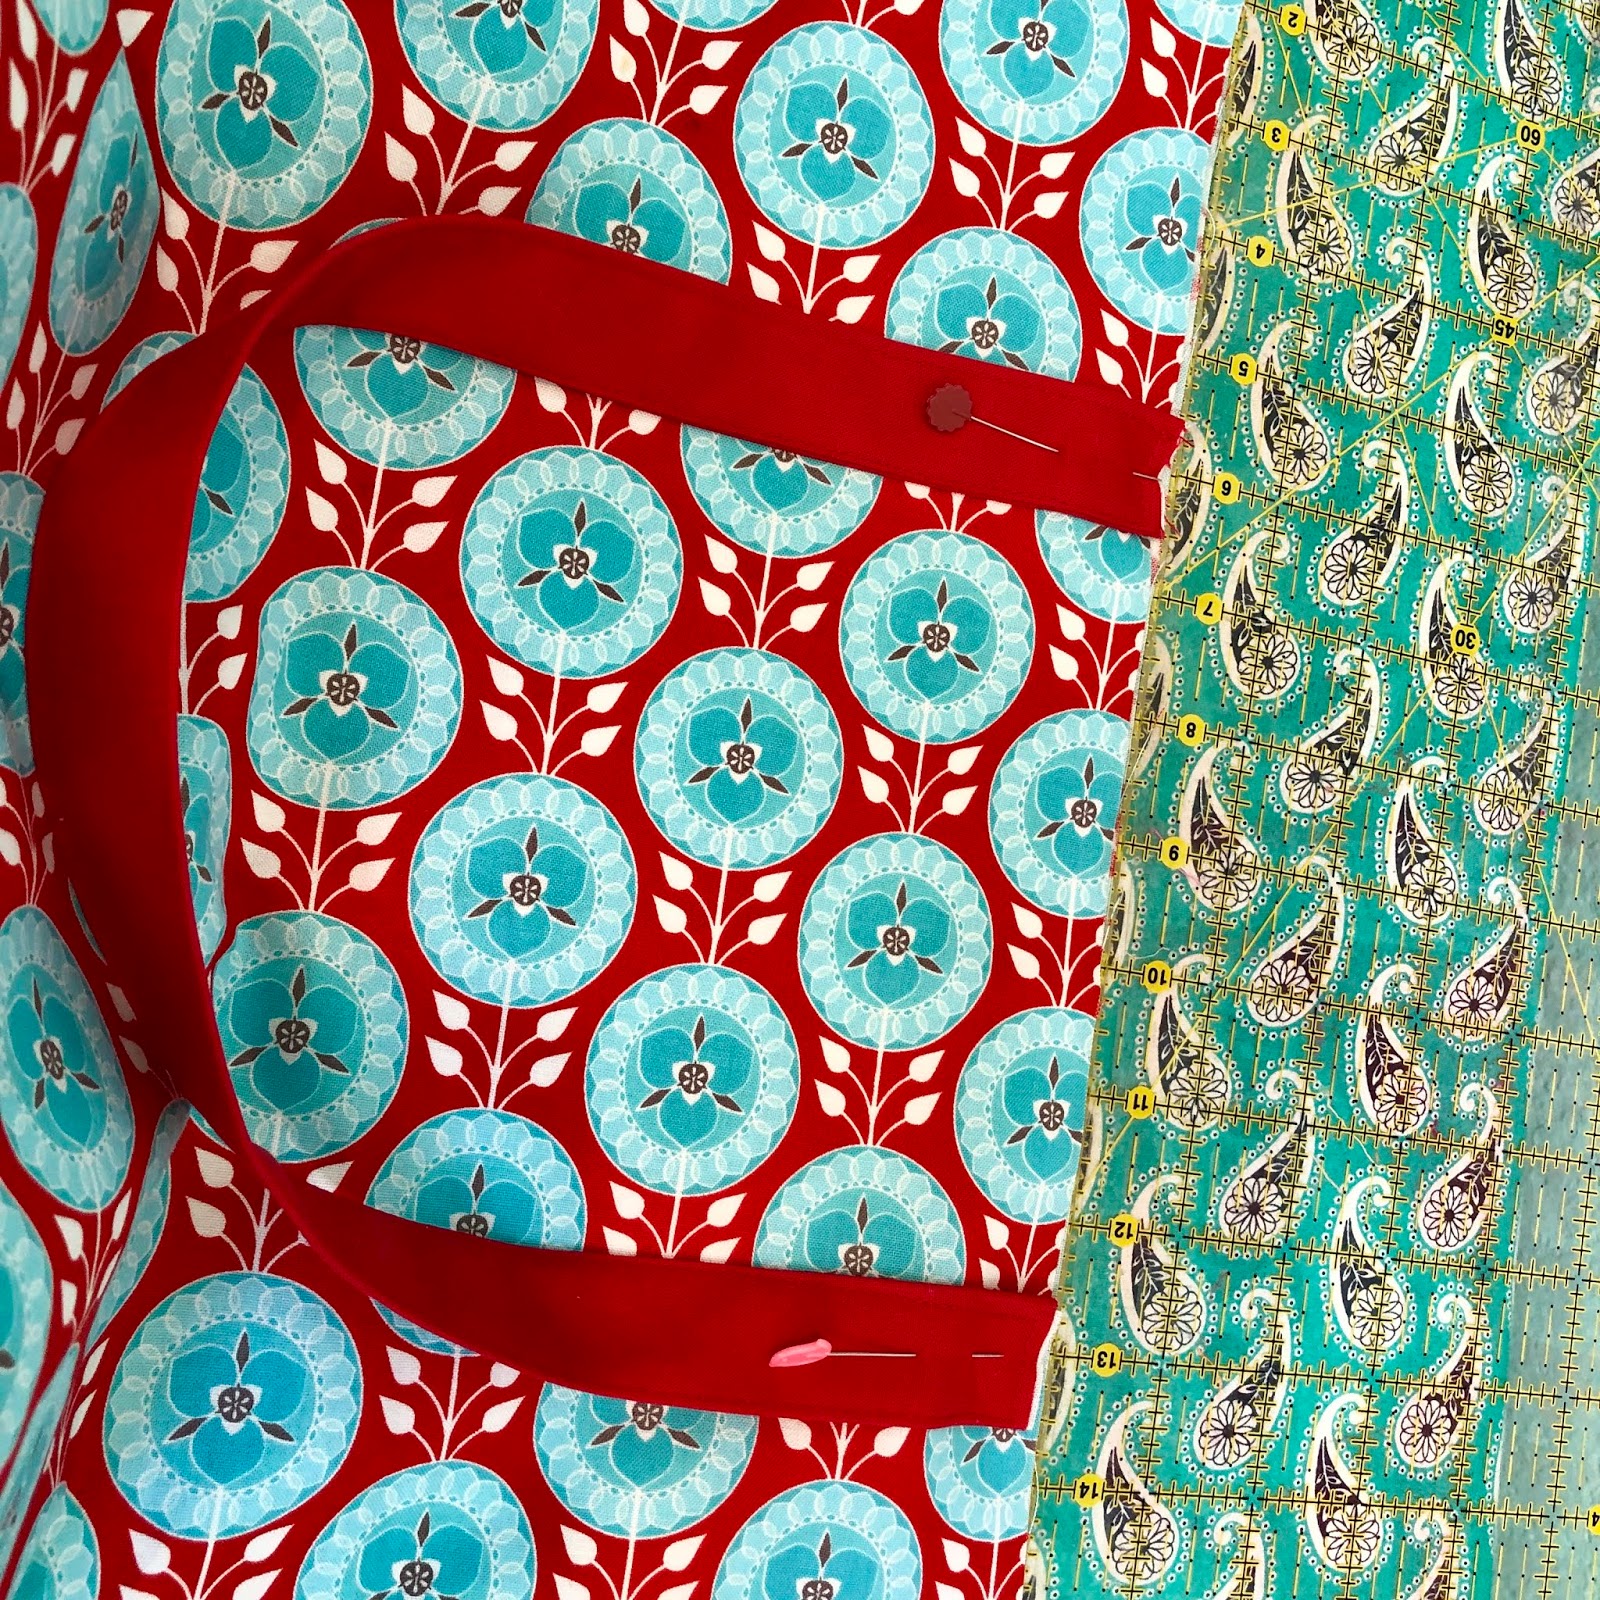
Add your handles to both sides of your finished outside bag piece. I found the center of each side and measured out 3" in each direction, leaving a 6" gap between each end of the handle. Baste both handles in place.
Now take your outside bag (right side out) and place it inside your lining bag (inside out). Tuck the handles inside and clip or pin around the top of your bag. Stitch around the top of the bag, making sure you catch the ends of your handles in the seam.

Turn your bag right side out through your side seam hole and stitch the hole closed. Press the top of the bag and stitch around the top of the bag to secure your lining.....
yes, I realize my fabric is sideways. oh well. it's a grocery bag!

And there you have it! I like to have a solid bottom in my bags. To do this, I cut a piece of plywood (8"x11") and then make a little "pillowcase" to slide it into, and place it in the bottom of the bag. The pillowcase is removable if it needs washing and the plywood is lightweight but never bends or breaks. 

I'm thinking grocery bags will be my go to Christmas gift this year!

Monday, March 12, 2018

Japanese knock off tote bag

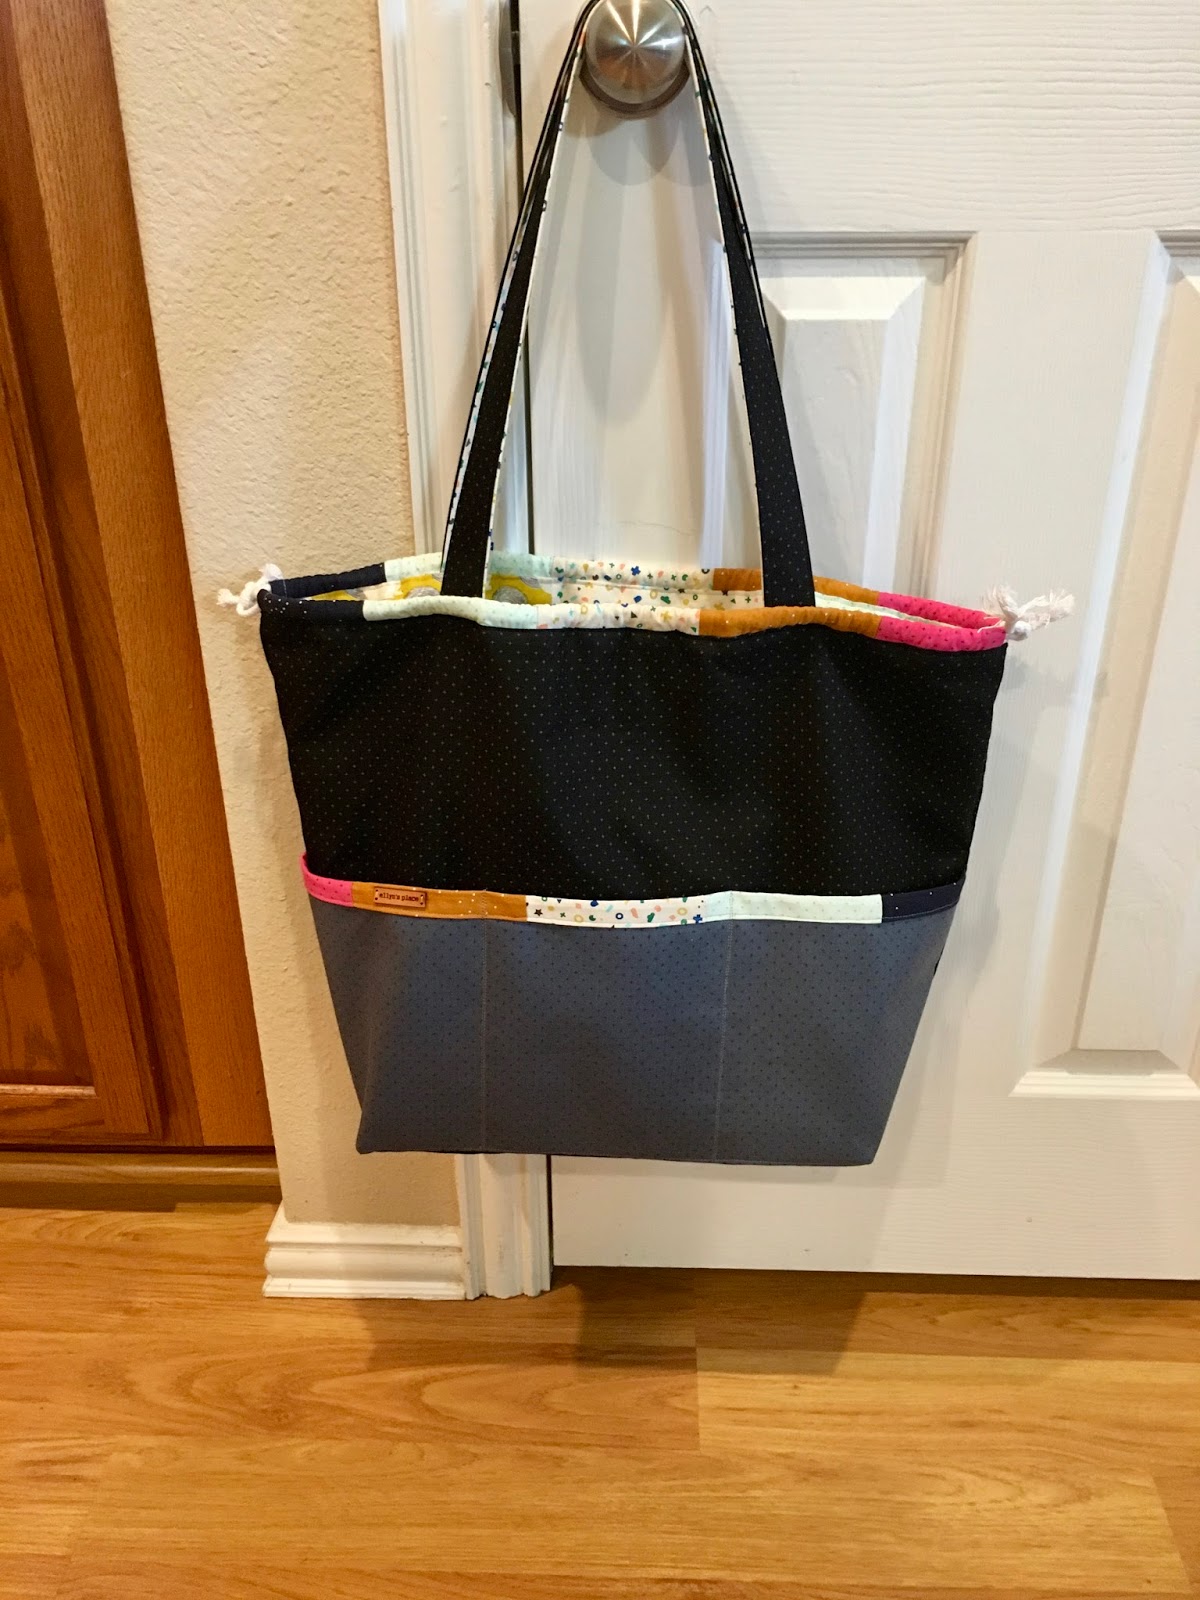
My friend Stephanie made an amazing Japanese knock off tote bag to use at Quiltcon.  I really loved it! She shared that it is a free tutorial from Sew Can She & I knew I would put it toward the top of my list of things to make after I got home. Because I clearly need more tote bags.

I decided to make my bag entirely of Cotton & Steel fabrics. Some I had in my stash, some I had just picked up at Quiltcon.
 I love that the bag is reversible! The patchwork "lining is really fun.

I also love the squirrel print. I got it in New York City last fall & had been saving it for just the right project.
I added one of my leather tags to the pocket binding.
This is a great tutorial! The only thing I changed was the handles. I made them longer and narrower than the ones suggested. Can't wait to put this to use!

Monday, December 18, 2017

handwoven trees tutorial

Hello Friends! Sorry I disappeared for a bit. There are lots of factors.... secret sewing that I can't share just yet, general holiday business and ongoing health issues that I hope to resolve very soon. That said, I'm back! I wanted to share some fun ornaments I made to share with my friends this year.

They were fun and quick to make. I thought I'd share a little how to here.... I started out with scraps of my handwoven fabric that I had been saving for an "unknown project", a bit of interfacing,  some wool felt, a bit of batting and ribbon.
I backed the woven fabric scraps with bits of interfacing (I like SF 101) and cut tree shapes with my rotary cutter. At this point, the edges of the weaving are not stitched, so raveling is a risk! Treat the little trees gingerly until you have them stitched down.

Layer a scrap of felt, a small triangle of batting (you can't see it here) and a tree and pin it down.
Take it to the machine & zigzag around the edges of the tree, tucking a loop of ribbon between the layers when you reach the peak. I tied a knot in the ribbon to secure it inside my ornament.

After you've stitched the trees down, carefully cut away the felt around the edges (Don't cut your stitching! But if you do, take it right back to the machine and restitch. It'll be fine. Don't ask me how I know this!)
Aren't they fun! And so quick to make I couldn't seem to stop...

Have you been making Christmas decorations this year?

Tuesday, July 4, 2017

ironing board cover

As I showed in my last post, my ironing board was seriously in need of a new cover. I bought 2 yards of this cute cotton fabric CHEAP at Joanns (because seriously, I'm just going to trash it, right?) and set right to work.
I'm mostly documenting this here for my own future reference (although I will undoubtedly forget it is here & recreate the wheel anyways. oh well). 

When hubby helped me create my ironing station, we staple gunned the batting & original cover to the top board. I planned to make removable covers down the road.

I cut a piece of fabric, 67" x 25" and rounded the corners (fold them all together & use a small plate)
press under 1/4" all the way around, then press under again, 1/2". 
Stitch it down all the way around, forming a casing for the elastic. Don't forget to leave an opening at one end!
Thread the elastic through (I used about 3 yards). You can stitch the ends together when you get the fit you want. I'll be honest, I just tied mine in a double knot! It goes under the board & you can't see it anyways.

Stretch the cover over your board, tighten up the elastic & poof! you're done.

I wonder how long I can keep this pretty cover clean and pretty. Any bets?
This is my first finish in the third quarter of the Finish-a-long.... took about an hour!


Friday, March 17, 2017

towel binding tutorial

I have received many questions (on Instagram, here on the blog, and in a Facebook group I belong to) about how I bind my handwoven towels. I decided the easiest thing to do is to post a tutorial here. warning, this post is photo heavy!

When I take my towels off of the loom, the first thing I do is zigzag both ends of each towel and cut them apart. The zigzag prevents the ends of the towels from unravelling during the washing process. Since I want the recipients of my towels to be able to actually USE them, I throw them in the washing machine and dryer before I even bind them. This shrinks the towels, tightens the weave and makes them ready to bind. I do NOT prewash my binding fabric as I find most good quality cottons don't really shrink much when washed. This is my preference.... some might disagree with me.

After it's been washed and dried, measure the width of your towel.


You will need 2 strips of binding fabric, one for each end. I cut mine the width of the towel + 2" X 2". 
Now press your two strips in half, lengthwise, wrong sides together....

I love to use little gingham checks, plaids & stripes for my binding. You can use anything at all, as long as it is good quality cotton fabric. Sometimes I cut my binding on the bias just because I like the look of it cut this way. Since there are no curves being bound, bias cut is not necessary.

Now I use wonder clips to clip my binding to the edges of my towel. Be sure to leave an inch of binding hanging off each end. Oh, and all of those fuzzy edges? don't worry about those for now.
Now head on over to the sewing machine. Sew the raw edges together. I use a 1/4" seam and a straight stitch.
Now that the woven edges are securely stitched down, you can go ahead and trim off all the fuzzy bits...
Now back to the ironing board. First, fold the extra inch on each end in and press
Now press your whole binding strip up flat...

then flip it to the back of the towel, hiding the raw edges and tucking those little bits on the end under neatly, press and clip again with the wonder clips...
Back to the sewing machine (we're getting our steps in here girls!) where you will stitch close to the folded edge of the binding...
And you're done. Look, you can barely see the stitch line on the front of your towel. It disappears right into the weaving...
I love the nice, neat finish this gives to my handwoven towels!


Friday, January 27, 2017

funky dresden tutorial part two.... let's sew!

At the end of the last post, we had all of our pieces for the funky dresden cut and were ready to put them together. If you're just now joining us, hop back there for all of the cutting instructions. Today we sew!

We'll start by sewing our dresden wedges into a circle. Flip your pieced wedges over on top of the next-door solid wedges...
flip the pink ones too, like I did the white ones here...
and chain piece them together. begin at the top and sew to the bottom of each pair...
Once you have them all sewn in pairs, lay them back out in your circle. This is your last chance to move them around and change the layout! 


Happy with the way you have them? Ok, now sew your pairs into fours, fours into eights and so on, until you have a complete dresden circle...
I have to admit to you, when I got to this point in my first funky dresden quilt I searched my house for something that was a perfect 20 inch circle. I found nothing. Then I realized, all I needed to do was go back and carefully trim the little triangles that popped up at each seam, smoothing the edges. 
Once I smoothed them out, I was ready to appliqué it onto my background. First, join your two background pieces (the 16 1/2 x 30 inch pieces) along the 30 inch side with a 1/4 inch seam. Press the seam open. Now lay your dresden circle on top, carefully matching the top and bottom when the dark and light backgrounds come together...
At this point, applique your dresden on top however you like to appliqué. I confess, I am not an appliqué genius! I chose to pin mine down, really really well, making sure it was laying completely flat, then I raw edge machine appliqued using the buttonhole stitch on my machine.
I changed my thread color to match each background fabric...
Turn your quilt top upside down and carefully trim away the excess circle in the center, leaving a good seam allowance (mine is about 1/2 inch). Be very very careful not to cut your dresden circle. This will reduce the bulk of your quilt top.

Now we need to deal with the hole in the middle!

I auditioned lots of different center ideas. On my first funky dresden, this was the subject of debate on my instagram page. For that quilt, I ended up going with a 2 1/2 inch wonky square. This time I decided it wasn't my favorite option...
The 2 1/4 inch split circle was ok...
I even tried that one reversed, as was suggested to me on instagram. not bad...
In the end, this time I decided to go with an orange center that matched my pieced dresdens...
Again, I pinned it down really well and blanket stitched around it....

And your quilt top is done! 
Ready to quilt as you wish. I did my first one with radiating lines from the center. I really want to try spiral quilting on this one.... we'll see if I can get my nerve up!

After quilting, trim your topper to 30 inches square. On my first quilt, I trimmed the excess off of one side, leaving my circle uncentered, just the way I wanted it! I think I will do the same with this one.

Finish off with matched binding to keep the background uncluttered. Or do something different! If you decide to go with matched binding, I recommend Debbie's tutorial here

If you make a funky dresden quilt, I hope you'll post pictures on instagram. Tag me (ellynz) and use the hashtag #funkydresden. Have fun with it!