Showing posts with label sewing. Show all posts

Wednesday, February 3, 2021

some weaving

Well it's a blogging miracle! By some freak of nature my blog has decided to start loading photos again! Nothing I tried to do to fix it seemed to work, but suddenly it works. hmmmm...

Anyways, I wanted to share a lovely weaving set I recently finished and delivered to a happy customer. She requested two towels, four placemats and four cloth napkins in these lovely blues and teals...
I am delighted with the result! I had not done placemats before. A wide fabric binding gave them a nice sturdy frame and nicely coordinated them to the napkins I hemmed on my machine.

 I will be doing more sets like this down the road for sure!

Happy to be back blogging... I've missed you!

Friday, September 7, 2018

Amber Clutch

Svetlana Sotak from Sotak Handmade has done it again! Her newest pattern, the Amber Clutch, was released this week and I was lucky to get to pattern test for her again. Testing for Svetlana is such a pleasure, as her patterns are professionally done, easy to follow and produce such great finished products. This one was no exception.

I had some good sized pieces of my fifth Saturday challenge fabric sitting on my cutting table & decided it would make great bags. (don't worry, you'll get to see my actual challenge finish soon! I'm really happy with it). Anyways, back to the bags...
They turned out so cute! I even added my personalized leather tags to the front. As you can see, the pattern comes in two sizes (the small one is just big enough to hold my iPhone 8+).  The larger clutch has a welt pocket to hold extra small items...

opened up it looks like this...
I loved making these so much, I decided to jump in and make one from a piece of my hand woven fabric...
I even put in the welt pocket! Using Svetlana's awesome directions, it went in without a hitch (I MIGHT have held my breath snipping and turning my handwoven fabric but I shouldn't have!)
I will definitely be getting braver with my hand woven pieces after this!
Here's a peek at the cute lining fabric I used (quilting cotton)

Hop on over to Svetlana's blog for more cute clutch pictures and a link to her shop!

Thursday, May 24, 2018

Solid Seven Doors

This month  in the Solid Seven Bee, Jessica prompted us to make doors! Oh man I love doors! I have a whole Pinterest board of doors which I browsed through over and over again. In the end, I was inspired to recreate doors from photos I took when Hubby and I went to London in 2012. I did some rough sketches from photos, then improv pieced my doors (meaning I just pieced them as I went. it worked out well!).

It was hard to narrow down which doors to do. I ended up choosing three of my favorites...
This one really looks like a face to me! Do you see it?


I loved the curvy numbers on the window of this one, I just had to include them. Oh, and that curved piecing kicked my butt! Probably should have just appliquéd the window on but I was determined to piece it.

I love the trim work on this door! This one was inside the Tower of London.

These are off in the mail to Jessica. I hope she loves them!


Wednesday, May 2, 2018

what to wear Wednesday


It's been a while since I shared a what to wear Wednesday post. I've been sewing away but haven't made a garment lately. Until now! Last week I whipped up this fun t-shirt, with fabric I bought from Girl Charlee while I was at Quiltcon. This t-shirt knit is light weight and quite drapey, and worked perfectly with McCalls 7323 which I had in my pattern stash and had made once before.
I made view c and quickly realized that there was no real way to line up all of the stripes on the angle like they had done. I did line up my side seam stripes and matched my sleeves, so there's that! All in all I'm really pleased with how it turned out. This one will get lots of wear this summer.
What have you been sewing lately?

Wednesday, March 14, 2018

What to wear Wednesday..... funky Hudson pants

Again with the Hudson pants! I know I know. But when I find a pattern I love, I tend to beat it into the ground. And when I found this awesome fabric at the Girl Charlee booth at Quiltcon, it was screaming out to become yet another pair of Hudson's.
I used white ribbing to trim out the pockets...
These are seriously so comfortable and I just might wear them every single day. They look really cute with my Ebony Tee too...
I do think it's time for me to invest in some new garment patterns though. Any suggestions?

Monday, March 12, 2018

Japanese knock off tote bag

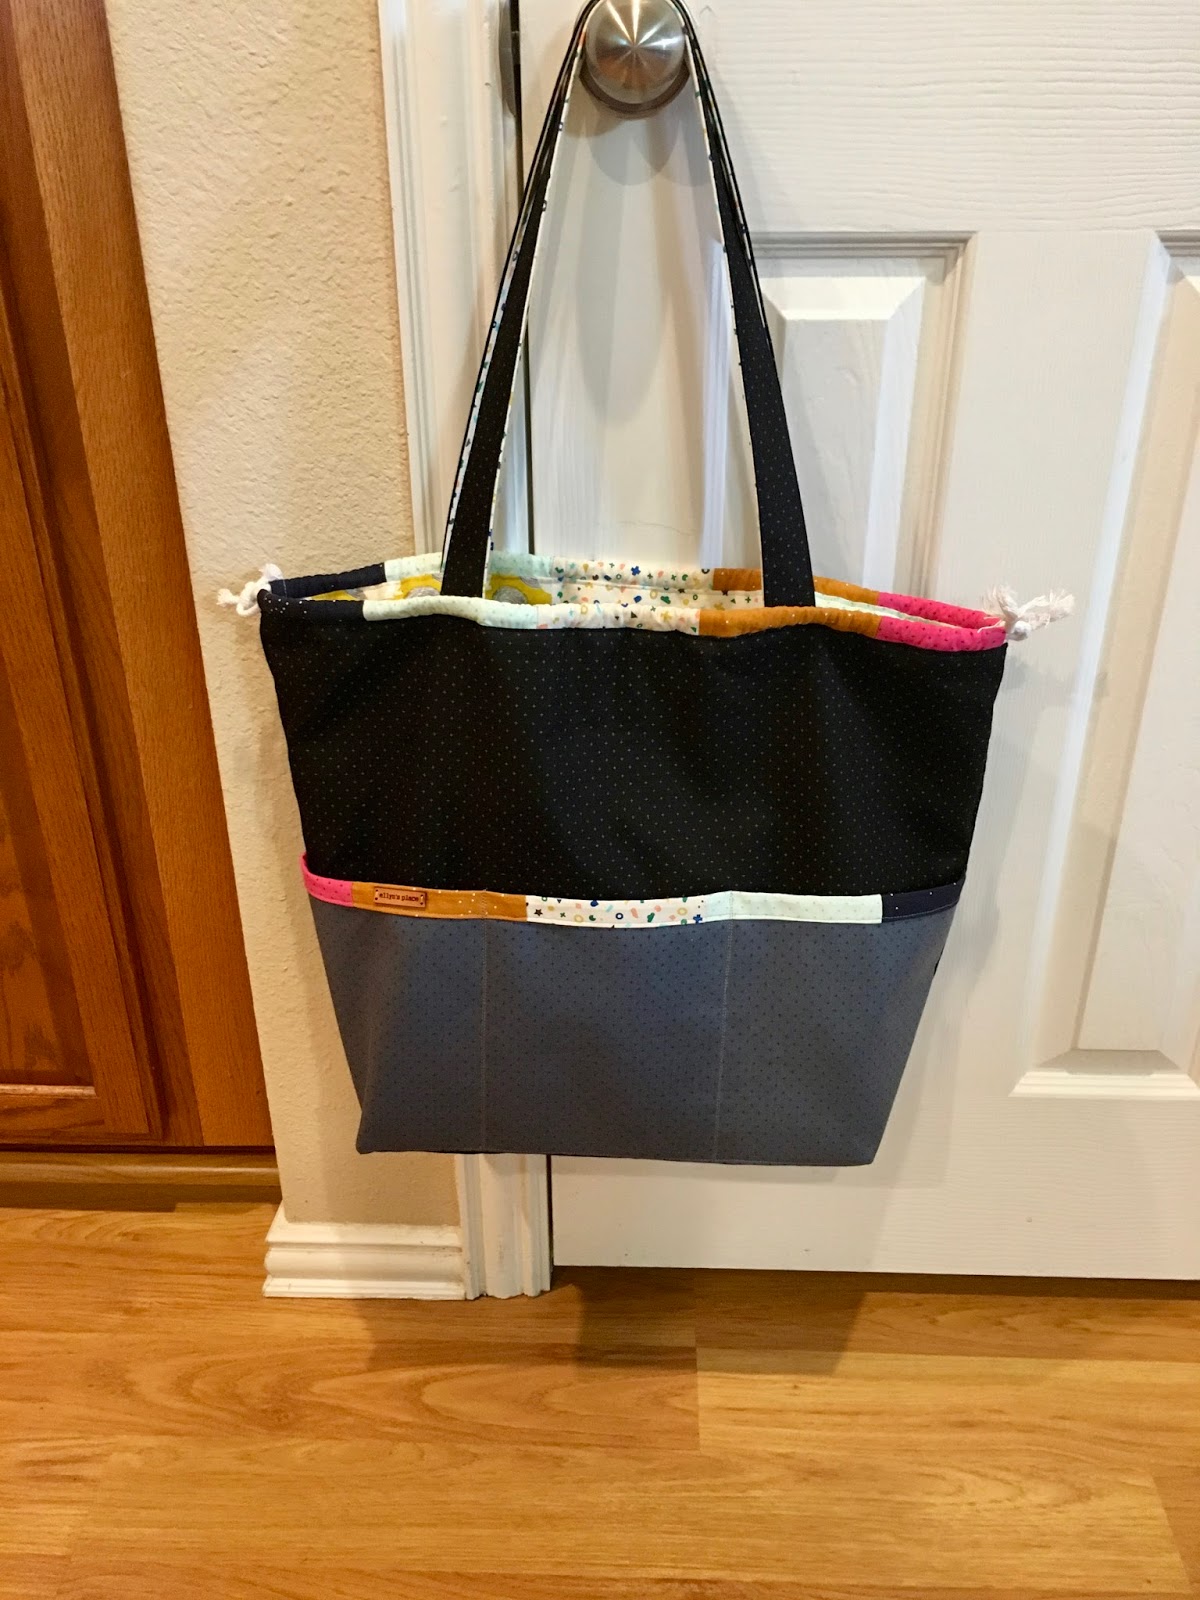
My friend Stephanie made an amazing Japanese knock off tote bag to use at Quiltcon.  I really loved it! She shared that it is a free tutorial from Sew Can She & I knew I would put it toward the top of my list of things to make after I got home. Because I clearly need more tote bags.

I decided to make my bag entirely of Cotton & Steel fabrics. Some I had in my stash, some I had just picked up at Quiltcon.
 I love that the bag is reversible! The patchwork "lining is really fun.

I also love the squirrel print. I got it in New York City last fall & had been saving it for just the right project.
I added one of my leather tags to the pocket binding.
This is a great tutorial! The only thing I changed was the handles. I made them longer and narrower than the ones suggested. Can't wait to put this to use!

Monday, March 5, 2018

all the tote bags

If you've been to Quiltcon before, you already know that you can come home with a huge stack of free tote bags! I had no idea.... live and learn! A few of the ones I ended up with are really great quality. Like the free bag we got with registration, designed by Violet Craft!

As much as I love it, I wish it had interior pockets. I had a brainstorm! Why not make some to insert. So I set to work.....
I made this pocket insert, with three slip pockets (perfect for my phone, etc) and a zipper pocket for cash. I stitched it directly to the top of my bag. Awesome!

I also got one of Cotton & Steel's amazing bags, so I decided to set to work making it even more amazing....

First I added C&S fabric to the straps making them a little fancier!
My buddy (and Quiltcon roomie) Diann had the great idea to add hand stitching.... I added three rows of running stitch around the top of the bag in colors that matched the printing on the front. Oh, and I used 1/4" tiger tape to make it all nice and even. If you don't know about tiger tape, you need to! It's magical. You can get it here.

Again with the pockets..... this time I used all C&S fabrics and I made the slip pockets a bit deeper...

I love the result! Thank you Cotton & Steel for the awesome bag!

Wednesday, February 21, 2018

What to Wear Wednesday - another Ebony Tee

 Here I am in another version of the Ebony Tee by Closet Case Patterns. This one is the "dress" length with set in sleeves and a scoop neckline. I do love the scoop, it lays nicely. The set in sleeves are fine, but I will admit I prefer the raglan version. If I make another longer ebony, I will adjust the raglan view I think! But this is very wearable (I wore it to church this morning!).

The fabric is a t-shirt knit from Hobby Lobby and it's a great quality. I wore it over a pair of black leggings which works well with my fancy leg wear, haha! Sad to have to plan my wardrobe around a clunky brace but I can walk, so not complaining. Oh, and if you are looking for me at Quilt Con the next few days, the leg brace is a dead giveaway.

When this post pops up I'll be flying off to Pasadena! Hope to see some of you there!

Wednesday, February 7, 2018

What to Wear Wednesday Ebony T-shirt

Ha! I told you What to Wear Wednesday wouldn't be a weekly event! Looks like maybe monthly? Oh well, I'm trying.

Today's feature is the Ebony T-shirt by Closet Case Patterns. What a great pattern! I made view c, the raglan tunic length in a size 16 and it's absolutely perfect. A very quick make. I'd love to make the dress sometime too. Just need to find the perfect fabric!

This one is a herringbone textured knit I found at Urban Spools. It has a great drape & is the perfect weight for this short sleeved, spring top. I used a gray rib knit I had on hand for the neckline.

Kudos to my photographer (hubby) who also got some fun headshots for me without meaning to. This top is going straight into the "pack for quilt con" pile! See you there?


Wednesday, January 24, 2018

improv play

Since one of my goals for 2018 is to explore improv quilting more, I pulled out one of my awesome Christmas gifts from hubby and set to work!
I love Victoria Findley Wolfe's Modern Quilt Magic book. So many fun things to try. I started with these little scrappy improv squares. I pulled out my low volume scraps and whipped up four of these tiny squares. Each one is only 1 1/2" square! So little and so addictive.
Soon four became eight...
and before I knew it there were sixteen.

I had a great time making these. Now they have been set aside for a future project. If you're looking for a fun book to push your limits, I highly recommend this one.

Wednesday, January 3, 2018

What to wear Wednesday - The Hudson Pant

In an effort to keep myself accountable to my goal of sewing more garments for my wardrobe in 2018, I've created new blog feature. What to wear Wednesday will be a frequent (first I typed weekly, but who am I kidding?) topic here at ellyn's place to keep you up to date on patterns I'm sewing, what worked (and didn't!) for me and the like.

So what am I wearing today? One of my many Linden Sweatshirts that I chatted about here. The Linden  is a Grainline Studio pattern and has quickly become one of my favorites. My closet is currently overflowing with them.... no doubt you'll see more of them popping up here on the blog down the road. And my pants? A new discovery, The Hudson Pant by True Bias. This is the first pair of Hudson's I've made and they are a big win for me! (there might be a second pair all cut out and ready to sew on my cutting table. maybe. probably.)
In these cold winter days of couch lounging, waiting for healing, watching The Crown, the Hudson pants are a perfect fit. I was worried that the bands at the bottom of the leg would not accommodate my fancy leg brace, but miraculously they do! So, with a long top, I've even been able to wear these out of the house with shoes. Big plus!

I had never used a True Bias pattern before, and I was very impressed. The attention to detail is fantastic.... trim on the side seam pockets, stitched down wide elastic band, drawstring and previously mentioned ankle bands. Despite the extra details, the pattern was easy to follow, and a quick make. I used a double knit from Joanns which sounds like old lady fabric but is so cute & was a great weight and stretch for this pattern. I made the size that matched my measurements and it fits perfectly. I did take about 2 inches off the length, next time I will make them about an inch longer, but this pair is perfectly wearable. Seriously, I wear them nearly every day and need a pair in every color.

What's your go to garment pattern this winter?


Monday, December 18, 2017

handwoven trees tutorial

Hello Friends! Sorry I disappeared for a bit. There are lots of factors.... secret sewing that I can't share just yet, general holiday business and ongoing health issues that I hope to resolve very soon. That said, I'm back! I wanted to share some fun ornaments I made to share with my friends this year.

They were fun and quick to make. I thought I'd share a little how to here.... I started out with scraps of my handwoven fabric that I had been saving for an "unknown project", a bit of interfacing,  some wool felt, a bit of batting and ribbon.
I backed the woven fabric scraps with bits of interfacing (I like SF 101) and cut tree shapes with my rotary cutter. At this point, the edges of the weaving are not stitched, so raveling is a risk! Treat the little trees gingerly until you have them stitched down.

Layer a scrap of felt, a small triangle of batting (you can't see it here) and a tree and pin it down.
Take it to the machine & zigzag around the edges of the tree, tucking a loop of ribbon between the layers when you reach the peak. I tied a knot in the ribbon to secure it inside my ornament.

After you've stitched the trees down, carefully cut away the felt around the edges (Don't cut your stitching! But if you do, take it right back to the machine and restitch. It'll be fine. Don't ask me how I know this!)
Aren't they fun! And so quick to make I couldn't seem to stop...

Have you been making Christmas decorations this year?