Friday, December 29, 2017

2017 the year of the dresden

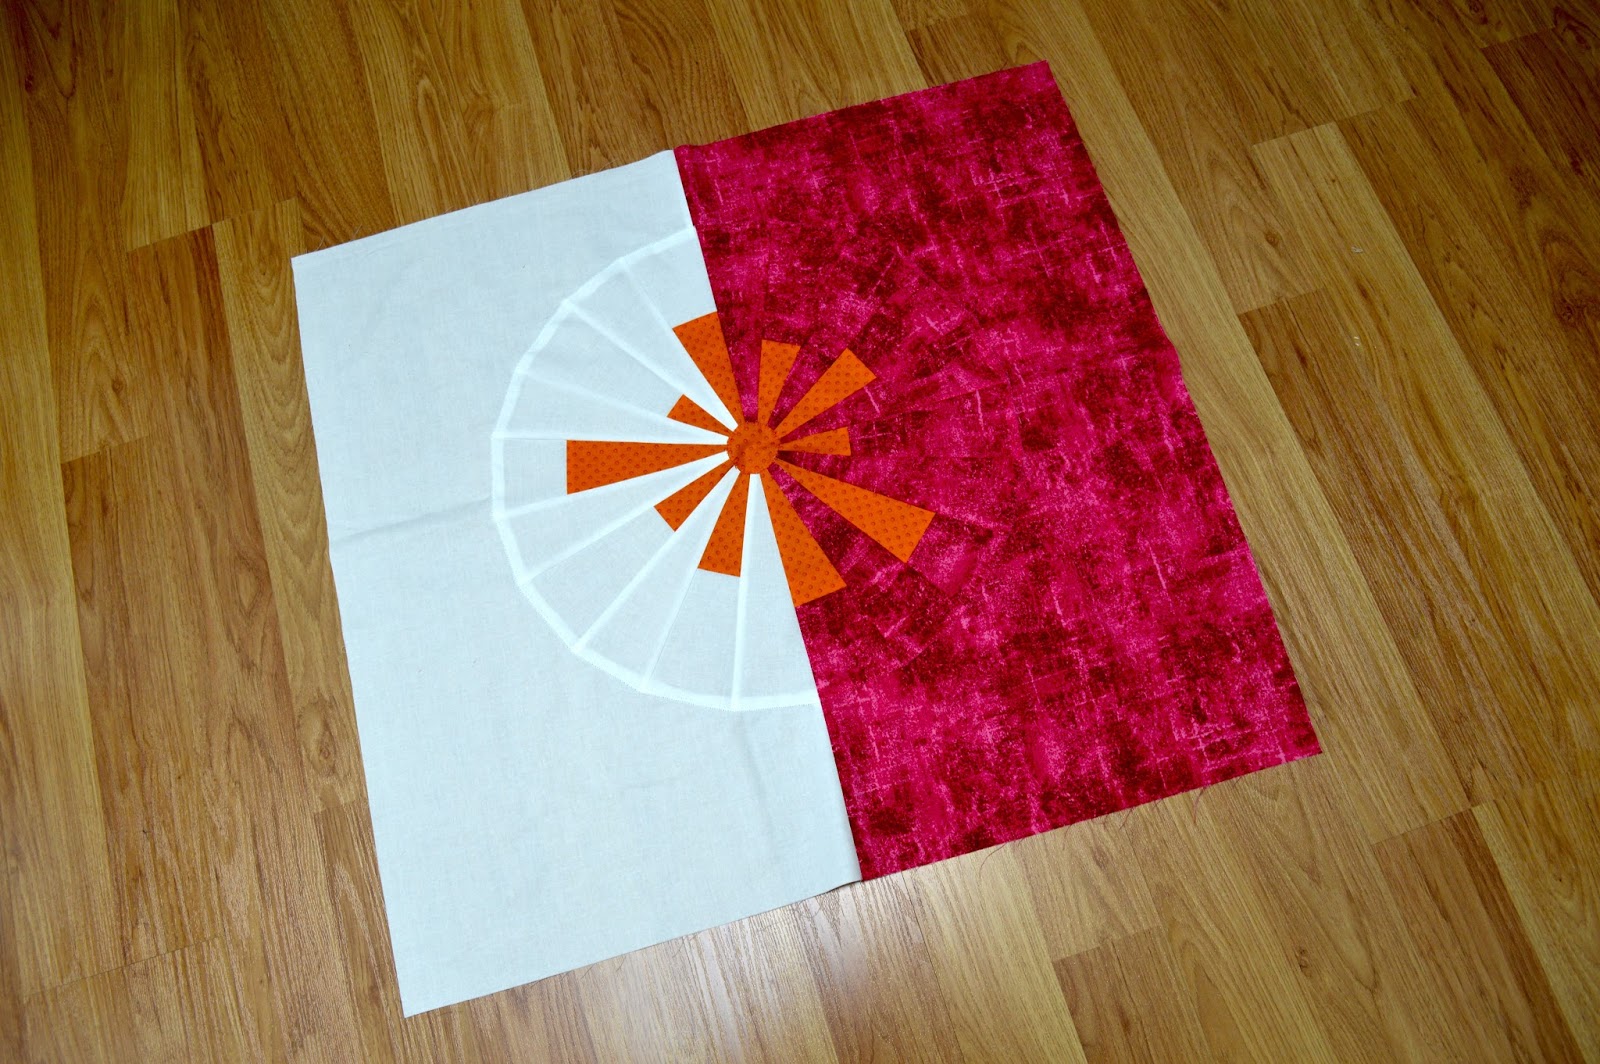
2017 was a fun year in my studio! As usual, it took me places I didn't expect and I learned so much. If I had to name my year, it would be the year of the dresden. The year kicked off with the creation of my funky dresden....
Which evolved into a tutorial and instagram sew along (my first!) which was lots of fun....
Dresden play continued and found it's way into my Riley Blake challenge minis...
And then I came up with my spiral dresden, which is heading to New York to live...
My MQG sponsored a dresden swap, and you better believe I was all over that! Here are the dresdens I received in the swap....

And the quilt I created with them...

Whew, that's a lot of dresdens. I thought I'd be moving on to something new in 2018, and then I saw the #tinydresdenparty announced over at Quilty Obsession and I knew I'd be joining in (it starts January 3). Spoiler alert, I've already made 2 tiny dresden for the party..... here we go again!

SaveSave

Wednesday, December 20, 2017

repairing a family heirloom

A dear friend entrusted me with repairing a quilt that her ancestors had made, so it would be a useable snuggle quilt to hand down to her daughter. I was honored to have this special job. Upon evaluation, I understood that this was not a quilt "restoration" but rather a repair. The original quilt, while a treasure, was constructed in an interesting manner. Kind of a haphazard patchwork, done on muslin squares, almost foundation pieced if that makes sense. The fabrics used were all treasured memories, some cottons, flannels, even some knits here and there.
The muslin squares were then all pieced together but no backing was added. A thin binding encased it all, and the binding was wearing away. Here's what the back of the quilt was like...
There were 10 or 12 places in the quilt top where patches were worn away like this one...
At the wise advice of my friend Diann, I created patches with appropriate scraps from my stash, like this vintage feedsack, and zigzagged them on top to match the other pieces of the quilt....
After I was done, I had a hard time spotting some of my repairs! A good thing I think. I took the whole repaired top to Diann for some long arm magic, using a lightweight wool batting and an aqua floral wideback. I bound the whole thing with the same aqua floral. 

The quilt has been lovingly presented to it's new owner and the word I got is that she loves it! yay!


Monday, December 18, 2017

handwoven trees tutorial

Hello Friends! Sorry I disappeared for a bit. There are lots of factors.... secret sewing that I can't share just yet, general holiday business and ongoing health issues that I hope to resolve very soon. That said, I'm back! I wanted to share some fun ornaments I made to share with my friends this year.

They were fun and quick to make. I thought I'd share a little how to here.... I started out with scraps of my handwoven fabric that I had been saving for an "unknown project", a bit of interfacing,  some wool felt, a bit of batting and ribbon.
I backed the woven fabric scraps with bits of interfacing (I like SF 101) and cut tree shapes with my rotary cutter. At this point, the edges of the weaving are not stitched, so raveling is a risk! Treat the little trees gingerly until you have them stitched down.

Layer a scrap of felt, a small triangle of batting (you can't see it here) and a tree and pin it down.
Take it to the machine & zigzag around the edges of the tree, tucking a loop of ribbon between the layers when you reach the peak. I tied a knot in the ribbon to secure it inside my ornament.

After you've stitched the trees down, carefully cut away the felt around the edges (Don't cut your stitching! But if you do, take it right back to the machine and restitch. It'll be fine. Don't ask me how I know this!)
Aren't they fun! And so quick to make I couldn't seem to stop...

Have you been making Christmas decorations this year?